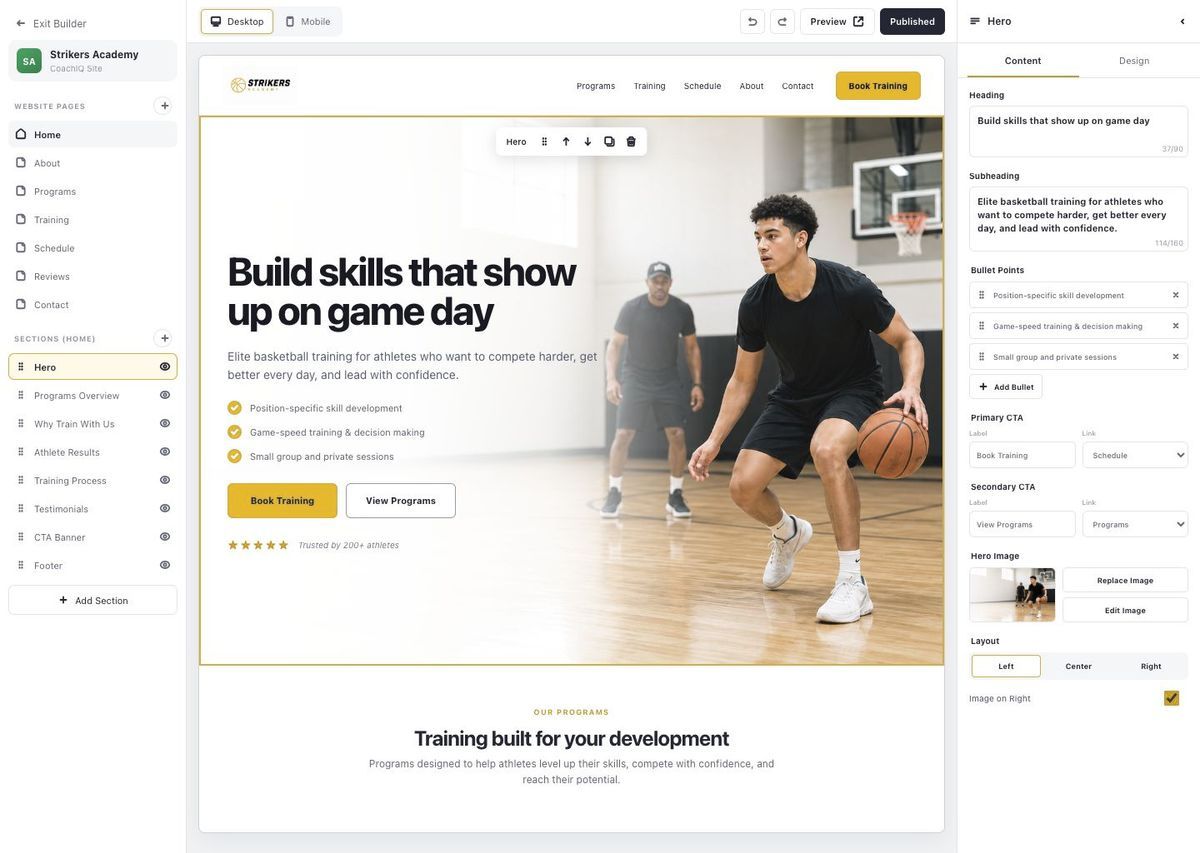
CoachIQ Website Builder editor showing facility pages and a booking call to action
Guide

How to Build a Website for a Sports Training Business

Learn how to build a website for a sports training business with the right pages, mobile design, booking, payments, and athlete management. Use this guide.

By CoachIQ August 28, 2026

Last updated: August 28, 2026

Quick answer: To build a website for a sports training business, choose one clear action for visitors. Publish pages for services, pricing, proof, and booking, then connect the site to scheduling, payments, and athlete management. The best website isn't the one with the most design options. It turns a family searching on a phone into a completed booking without adding more admin for your staff.

Many coaching websites show a logo, training photos, and a phone number. Then every interested parent still has to text: What do you offer? What does it cost? When can my athlete train?

A useful sports coaching website answers those questions before the text arrives. It should help a family understand the fit, trust the coach, choose a service, and take the next step. Behind the site, the same athlete record should carry through scheduling, payment, forms, communication, and progress tracking.

How to build a website for a sports training business that books athletes

A sports training business website needs to help the right athlete understand the offer, trust the business, and book or inquire from any device. Everything else supports those three jobs.

Set one primary action before choosing a template or writing a headline. For most solo coaches and coach-led facilities, that action is one of these:

  • Book an assessment.
  • Buy a training package.
  • View available Sessions.
  • Submit an inquiry for a camp, team, or academy.

Pick the action that starts your normal sales process. Put it in the header, the first screen of the homepage, and at the end of every service page. Six equal buttons force visitors to make a decision the site should make for them.

This matters whether you rent court time or run a 10,000-square-foot facility. Build the site around a workflow that can grow from one service to multiple coaches and locations.

Step 1: Choose a domain and platform you can control

Choose a short business domain and a website platform that your staff can update without calling a developer. Your platform should make common changes — prices, coach bios, schedules, and seasonal programs — easy to publish.

Use a domain based on the business name when possible. If it is unavailable, add the sport or city. Keep it easy to say, type on a phone, and print on a banner.

Then compare platform categories by the work they create after launch:

Platform type Best fit Operational tradeoff
Sports business platform with a Website Builder Coaches and facilities that want the site connected to scheduling, payments, and athlete records Less need to maintain separate integrations
General no-code website builder Businesses that want broad design freedom and already have an operations platform Scheduling, forms, payments, and CRM may live in separate tools
Content management system Businesses with ongoing publishing needs and technical support More control, but more updates, security work, and plugin maintenance
Custom website Established businesses with unusual workflows and a real development budget Highest flexibility, cost, and maintenance burden

CoachIQ can sit underneath any website choice as the operational layer. You can keep an existing site and connect your sports scheduling workflow. Or use the CoachIQ Website Builder for coaches and facilities so the site and business tools live together. Either way, keep the path from interest to paid training intact.
Step 2: Build the five pages every coaching website needs

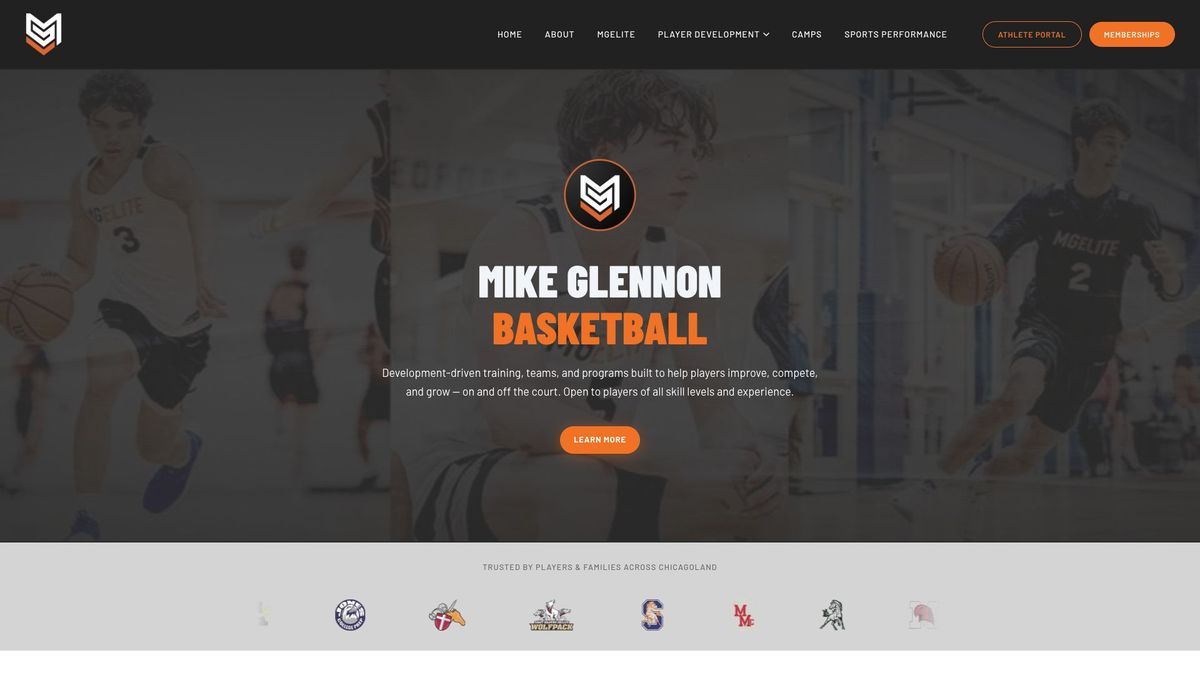
Mike Glennon Basketball website showing Programs, camps, and booking paths

Every sports coaching website needs a homepage, services page, pricing page, proof page, and a clear booking or contact page. A growing facility may add coach, location, camp, and sport-specific pages later.

  1. Homepage: Say who you coach, the outcome, the location, and the next step. “Basketball skills training for middle and high school athletes in Tacoma” beats “Unlock your potential.”
  2. Services: Explain who each offer is for, what happens during a Session, its format, duration, and next step. Separate private training, small groups, camps, and remote Programs when the decisions differ.
  3. Pricing: Show the price or explain the package, what is included, cancellation terms, and whether athletes use Credits. Hiding every number often creates more low-fit inquiries.
  4. Testimonials and results: Use approved quotes, specific outcomes, and real photos. Get permission before using a minor athlete’s name, image, or story. Never make a development guarantee.
  5. Booking or contact: Show live availability for straightforward services. Use a short inquiry form when placement requires a conversation.

Add an About page when the coach’s background builds trust. Add location pages when addresses, hours, rosters, or Schedulers differ. If you train in shared spaces, the guide to starting a sports training business without a facility explains how to present that model.

Real training businesses will organize those pages differently. Mike Glennon Basketball puts Programs, camps, memberships, and the Athlete Portal into one path. Pure Point Basketball makes its introductory offer easy to find.

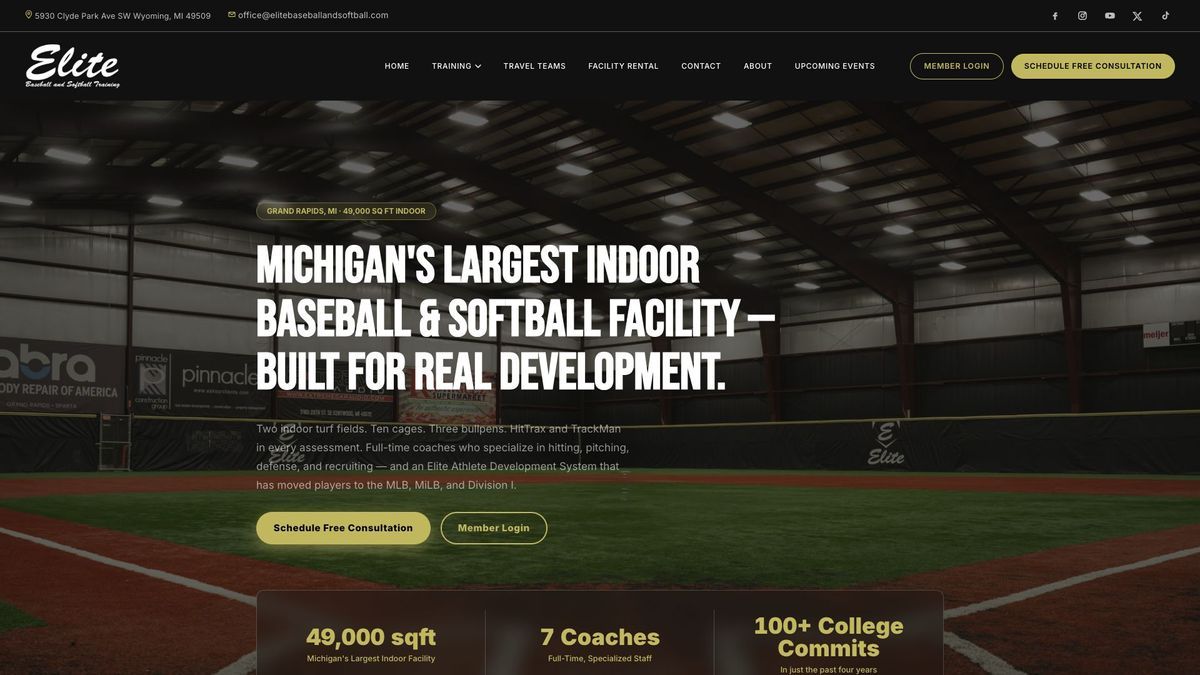
Elite Baseball & Softball separates training, teams, rentals, events, and consultations. The layout changes with the business, but the visitor shouldn't have to guess what to do next.

Step 3: Write each page around the family’s decision

Write website copy in the order a parent or athlete makes the decision: fit, outcome, process, proof, price, and next step. Do not make visitors decode your coaching philosophy before they know whether you serve their athlete.

A useful service-page opening can be this simple:

Private baseball hitting sessions for athletes ages 12–18 who want a more repeatable swing. Each 60-minute Session includes movement prep, focused cage work, and a short plan for the week. View availability and book an assessment.

That paragraph answers the sport, age, goal, format, length, deliverable, and action. The rest can explain the method, coach, location, common questions, and proof.

Use the language families use in real inquiries. Avoid broad promises such as “take your game to the next level.” Specific copy helps people decide and tells search engines what the page covers.

Step 4: Connect booking, payment, and athlete management

Elite Baseball and Softball facility website with training, team, rental, and consultation options

Connect the website’s primary action to scheduling, payment, intake, and the athlete record. Families shouldn't have to restart at each step. A polished homepage still creates admin if its main button opens a form that leads to three days of texts.

Map the complete first-Booking flow:

  1. The family chooses an assessment or service.
  2. They see valid times for the right coach and location.
  3. They pay or use the correct Credits.
  4. They complete required intake and waiver forms.
  5. They receive a confirmation and know where to go.
  6. The Booking appears in the coach’s calendar and the athlete’s history.

CoachIQ connects Schedulers, Stripe-powered payments for coaches and facilities, forms, communication, and athlete profiles. That connection matters more as you add services and staff. The owner shouldn't have to compare a website form, a payment app, and a group text to work out who's training at 5:00pm.

If you keep another website platform, test every handoff on mobile. Use one obvious button, preserve the business branding, and make sure the visitor lands on the exact service they chose — not a generic list of every Scheduler.

Step 5: Make the website work on a phone first

A sports coaching website should be designed and tested for a parent using one hand on a phone. That means readable type, fast pages, short forms, large buttons, and no sideways scrolling.

Google uses the mobile version of a site for indexing. It recommends responsive design because the same content appears at the same URL across devices. Its mobile-first indexing guidance explains the technical details, but the practical test is simpler.

Open the site on a real phone and try to:

  • Understand the offer within five seconds.
  • Find the training location and service area.
  • Read pricing without pinching or zooming.
  • Tap the main button without hitting another link.
  • Book and pay without switching to a laptop.
  • Complete the form using only the required fields.

Compress large images and avoid autoplay video at the top of the page. Training footage can build trust, but it should not make a family wait for the site to load in a parking lot.

Step 6: Help local families find and trust the business

Local visibility starts with consistent business information, focused service pages, and a verified Google Business Profile that points to the right website action. SEO is not a pile of city names in the footer.

Use the same business name, phone number, address or service area, and hours across your site and public profiles. Google says eligible storefront and service-area businesses can use a Business Profile in Search and Maps. It can display the website, location, hours, reviews, and booking links. Follow the official Google Business Profile setup guidance, and keep ownership under a business-controlled account.

Give every page a plain-language title and description. A service page titled “Youth Soccer Speed Training in Sacramento” tells a family and a search engine more than “Performance.” Add descriptive image alt text, connect a sitemap, and review the CoachIQ guide to getting found online with SEO.

Trust also comes from operational details. Show where families park, what athletes should bring, how cancellations work, and who answers questions. Small details remove uncertainty before a first Booking.

Step 7: Test the full website before launch

Before launch, complete the same path a new family will take and fix every point where they must guess. Do this on both a phone and a computer.

Use this launch checklist:

  • Confirm every navigation link and button works.
  • Submit every form and verify the right staff member receives it.
  • Complete a test Booking and payment.
  • Check confirmations, reminders, and calendar entries.
  • Review spelling, prices, addresses, coach names, and policies.
  • Test the site while signed out and in a private browser window.
  • Confirm the domain uses HTTPS and loads without security warnings.
  • Ask someone unfamiliar with the business to find and book the main service.

Launch when the core path works. You can add galleries, blog posts, and more service pages later. A five-page site that books athletes is better than a 20-page project that sits unpublished.

Frequently asked questions

The best answers to common coaching-website questions come back to the same rule: choose the platform and pages that support the business workflow, not just the design.

What is the best website builder for sports coaches?

The best website builder for sports coaches is one the business can update easily. It should work well on mobile and connect to booking, payments, and athlete management. CoachIQ includes a Website Builder and can also provide the operational layer beneath an existing site.

What is the best website builder for youth sports coaches?

The best website builder for youth sports coaches should support guardian-friendly booking, clear service and pricing pages, consent-aware forms, and mobile access. Communication should stay tied to the athlete. Choose based on that full workflow, not the number of templates.

Can I build a sports coaching website myself?

Yes. Start with the five core pages, one primary call to action, and a template that already works on mobile. Hire help when custom design or technical maintenance will create more value than another hour spent coaching or selling.

Do I need online booking on my coaching website?

Use online booking when families can choose a Session without staff guidance. Use an inquiry form when athlete placement, facility rental, or a custom program requires a conversation. Many businesses need both.

Build the front door and the operation together

The strongest sports training business website connects a clear public promise to a simple, professional athlete experience after the first click. Publish the right pages, make them easy to use on a phone, and connect the next step to the system that runs Sessions, payments, forms, and communication.

CoachIQ supports 750+ sports coaches and training facilities, from independent coaches to multi-location operators. Use it beneath the website you already have, or build the public site and the operation together. Book a free demo to see how the Website Builder, Schedulers, payments, and Athlete Portal fit your business.

POWERED BY

CoachIQ Logo
